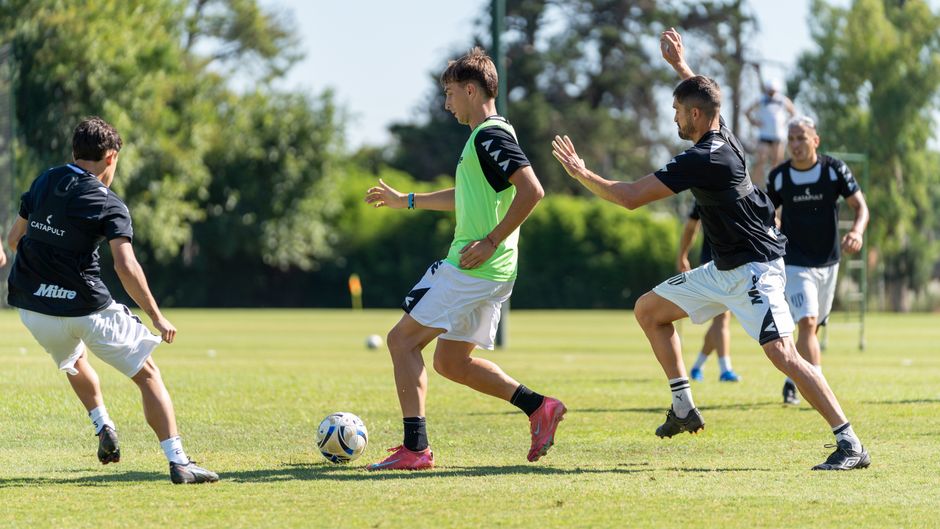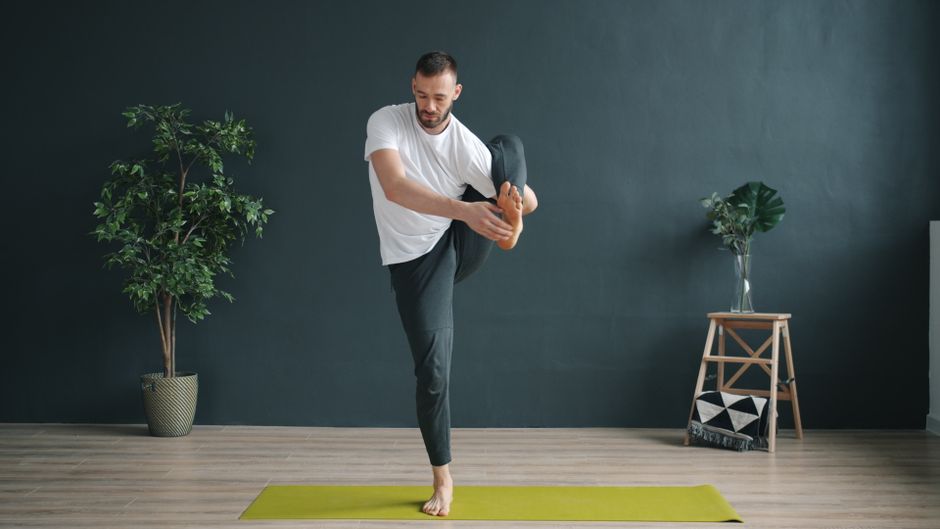
Agility is the ability to start, stop, change direction, and regain control. Teen athletes can practice these skills at home without a large space or expensive equipment. The priority is clean movement: a stable stance, quiet landings, and enough room to stop safely.
Set up a safe practice space
Use a flat, dry surface with enough clearance to move in each direction. Tape, shoes, water bottles, or small floor markers can define the drill area. Wear shoes that match the surface, and avoid fast direction changes if you have pain or an injury that has not been assessed.
Warm up first
Spend three to five minutes marching, lightly jogging in place, and doing gentle leg swings or bodyweight squats. The goal is to feel ready to move, not to tire yourself out before the drills begin.
Six agility exercises for teens at home
1. Athletic ready position
Stand with feet about hip-width apart, knees softly bent, and hands in front of your body. Hold the position for 15 seconds, reset, and repeat three times. This is the start and finish position for every drill below.
2. Lateral shuffle between markers
Place two markers about three to five steps apart. Shuffle sideways from one marker to the other without crossing your feet. Touch the marker, pause under control, and return. Complete 3 rounds of 20 seconds.
3. Forward-to-back movement
Set one marker in front and one behind you. Take quick but controlled steps forward to the first marker, then backpedal to the second. Keep your chest tall and your steps short. Practice 6 to 8 repeats with a full pause after each one.
4. Four-corner taps
Make a small square with four markers. Start in the center, step or shuffle to a called corner, touch it with one hand, and return to the middle. Work for 20 seconds, rest, and repeat three times. Start by calling the corners yourself; add a partner cue later.
5. Line change-of-direction drill
Use a tape line or floor seam. Move two steps to one side of the line, plant under control, then move two steps back. Do 5 repetitions per side. Focus on lowering slightly before changing direction instead of leaning or twisting.
6. Reaction cue drill
Ask a partner to call “left,” “right,” “forward,” or “back.” Respond with one controlled step in that direction and return to ready position. Continue for one minute, then rest. If you are practicing alone, use a timer with preplanned cues rather than moving randomly.
A 12-minute home agility routine
| Time | Work |
|---|---|
| 3 minutes | Warm-up and ready-position practice |
| 3 minutes | Lateral shuffle and forward-to-back movement |
| 3 minutes | Four-corner taps and line change of direction |
| 3 minutes | Reaction cue drill, then easy walking to cool down |
How to progress
- First improve control, then add speed.
- Make one change at a time: slightly more distance, a smaller square, or a quicker cue.
- Keep rest periods long enough that foot placement stays accurate.
- Practice both directions so one side does not become neglected.
Related youth movement guides
Build a broader foundation with youth coordination drills for beginners, best exercises to improve coordination, and reaction training exercises for soccer players.
When to stop
Stop the session for pain, dizziness, or a loss of control. Teens returning from an injury should follow the guidance of their qualified clinician, coach, or athletic trainer.
Frequently asked questions
How many times a week should teens do agility drills?
Two or three short sessions each week can be a practical starting point when form stays controlled and the rest of the training schedule allows recovery.
Do these drills need a ladder?
No. Floor tape or two to four simple markers work well for a small home practice area.
This article is for general educational purposes and is not a substitute for individualized medical advice or sport-specific coaching.